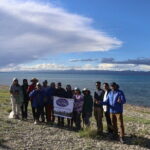
REVIEW · ANNAPURNA CIRCUIT TREKS
Annapurna Circuit Trek
Book on Viator →Operated by Nepal High Trek & Expedition Pvt. Ltd · Bookable on Viator
A classic trek can fit your calendar. This Annapurna Circuit Trek trims the usual route using road access, so you spend more time hiking the good parts and less time stuck in slow logistics. You’ll follow the Annapurna region’s changing scenery, from warm lower valleys into alpine forests, then up to Thorang La and down toward Muktinath Temple.
I especially like the way this plan is built for a steadier pace at altitude, with a rest day in Manang before the big crossing. Another thing I really appreciate is that the essentials are covered: your guide, tea-house stays, trekking meals, and even gear like a sleeping bag and down jacket are included. In past trips, guides such as Shanta and Buddhi Tamang have been praised for keeping things organized and human.
The main consideration is that this is still serious high-altitude trekking. You’ll reach 5,416m, and while the route is designed to lower risk, you still need the right fitness and common sense. Also, don’t count on shaving more days with a jeep to Manang—beyond Chame it’s not considered appropriate, and the altitude sickness risk shoots up if you skip the climb.
In This Review
- Key highlights
- Why This Annapurna Circuit Is Built for Real Life Timing
- Kathmandu Start: Pickup, Briefing, and a Licensed Guide
- The Long Drive to Besisahar and Chame (Then the Trek Really Starts)
- Manang Valley Days: Alpine Forest Walks and Slow Altitude Gains
- The Manang Acclimatization Day: Rest That Actually Means Something
- Yak Kharka and the Lead-Up to Thorang La
- Thorang La (5,416m) and Muktinath Temple: The Hard Part Meets the Sacred
- Pokhara and the Drive Back to Kathmandu: Recovery With Views
- Price and Value: What $975 Covers (and What You’ll Still Pay)
- Who Should Book This Annapurna Circuit Trek (and Who Should Reconsider)
- Should You Book This Annapurna Circuit Trek?
- FAQ
- Where is the meeting point?
- Is airport pickup and drop-off included?
- How long is the trek and trip?
- Does the price include a guide and permits?
- What meals are included during the trek?
- What trekking gear do I get?
- What is the highest point on the trek?
- Can I take a jeep farther to shorten the trek?
- Is travel insurance included?
- What if weather is bad?
Key highlights
- Shorter circuit planning thanks to road access toward Manang
- Acclimatization built in with a Manang rest day before the pass
- Thorang La crossing at 5,416m with prayer flags and big views
- Tea-house comfort with meals included on the trek
- Gear provided (sleeping bag, down jacket, duffle bag) to travel lighter
- Private group experience with a government-licensed guide
Why This Annapurna Circuit Is Built for Real Life Timing
The Annapurna Circuit is the classic Nepal trek for a reason. It’s dramatic, historic-looking in the best way, and it teaches you how altitude works: you feel it, you respect it, and you move anyway.
What makes this version practical is that it’s designed as a shorter plan without turning into a sprint. The big idea is that road improvements from Besisahar toward Manang help reduce wasted travel time. You’re not “saving time” by doing less altitude—you’re saving time by doing less unnecessary transfer time.
You should also like the hiking rhythm here. Even with a shortened circuit, you get a proper acclimatization window, including time in Manang before the pass. That matters because Thorang La days are not the moment to guess how your body will react.
You can also read our reviews of more hiking tours in Kathmandu

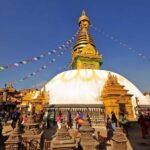
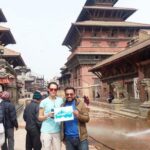
Kathmandu Start: Pickup, Briefing, and a Licensed Guide
Your trek begins in Kathmandu with an airport pickup and transfer to a hotel for a briefing. This is the part that keeps your whole trip from feeling chaotic. You’ll get guidance on trek expectations and useful basics so you can start day two with your head in the right place.
The tour uses a government license holder guide from Kathmandu, which is a meaningful quality signal in Nepal. Good leadership on trek means you’re not just counting steps. You’re learning how to pace yourself, when to push, when to slow down, and what to watch for.
You might also appreciate the human side of guidance. In the trip feedback I’ve seen, guides named Shanta, Buddhi Tamang, Indaco, and Pawan are repeatedly described as attentive and organized. Even when weather changes the plan, that kind of calm management helps you keep the trip feeling safe instead of stressful.
The Long Drive to Besisahar and Chame (Then the Trek Really Starts)

A major part of this trek is early overland travel. Day two drives you away from the Kathmandu Valley toward Besisahar in the Lamjung area, including mountain-view scenery as the temperature warms. Day three continues to Chame, the Manang district headquarters.
Two practical notes if you’re planning how to travel:
- Road time here is substantial, and your comfort depends on your bus/vehicle setup and your tolerance for bumpy stretches.
- The Chame road is unpaved, so expect that “road” can mean “dust, vibration, and occasional impatience.”
Why is this still worth it? Because the payoff is that you’re positioned to start walking with real scenery immediately. This route uses transport to place you where the hiking magic is, rather than dragging the trek out with extra transfers later.
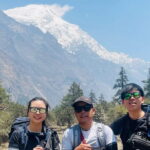
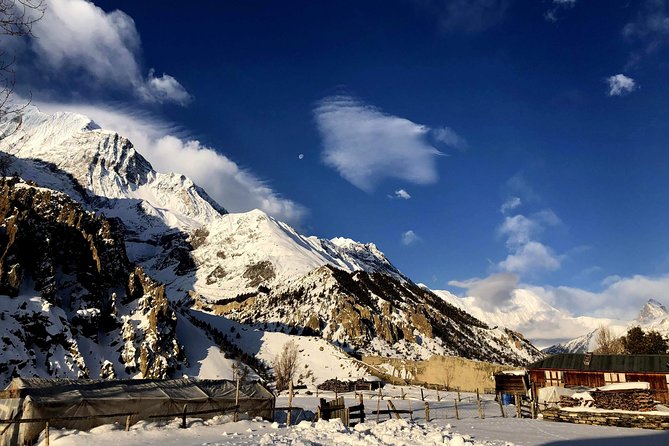
Manang Valley Days: Alpine Forest Walks and Slow Altitude Gains
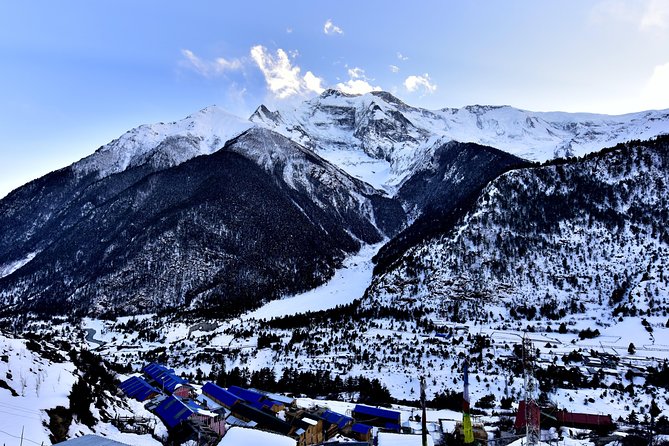
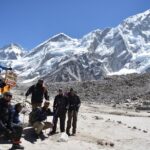
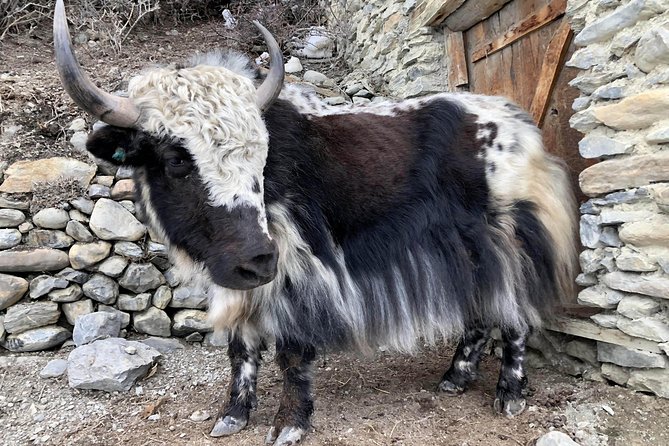
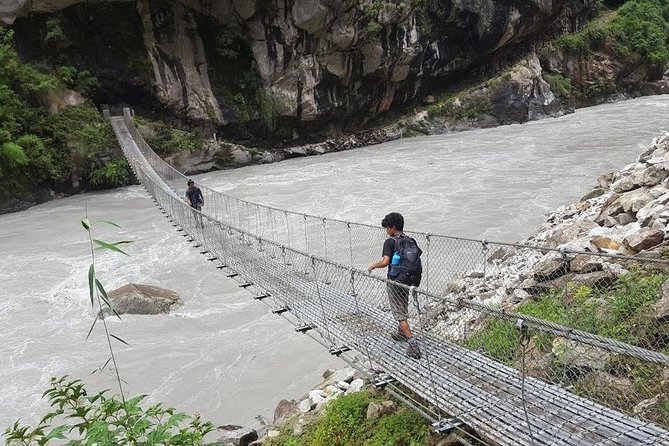
Manang is the key to making this trek feel manageable instead of random. After reaching Chame, your route pulls you upstream along the Marsyangdi River and up through pine-heavy scenery. You’ll move through villages that feel lived-in, not staged for tourists.
One day takes you toward Bhratang village, with the walk getting more uphill and forested as you go. Another day heads toward Pisang village, which sits in the Manang Valley with mountain views. The important part isn’t just the scenery—it’s the gradual shift in altitude and your body’s ability to adapt.
This is also where you begin to feel the Annapurna Circuit’s character: you’re not hiking one “type” of view. You’re watching the region change day by day—river valleys to higher settlements, forest to more open mountain angles.
The Manang Acclimatization Day: Rest That Actually Means Something
You get a dedicated rest day in Manang before you head into high altitude. That’s not filler. It’s the difference between a crossing that feels like a plan and a crossing that feels like a gamble.
During this rest day, you’re encouraged to hike to Gangapurna Lake. Even if you don’t treat it as a must-do, the reason it’s recommended is clear: it’s a way to move gently at altitude, test your breathing, and keep your legs from going stiff without jumping straight into the pass challenge.
Manang also gives you time to adjust your packing habits. You’ll learn what you actually use (and what you carried like a guilt-trip). If you forget this day exists and try to power through every view, the next days will feel harder than they need to.

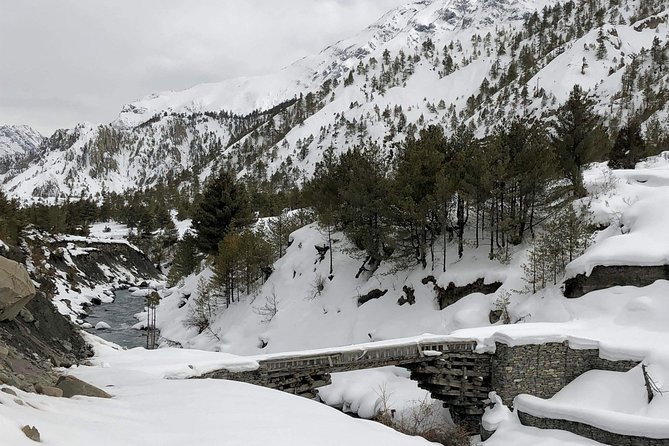
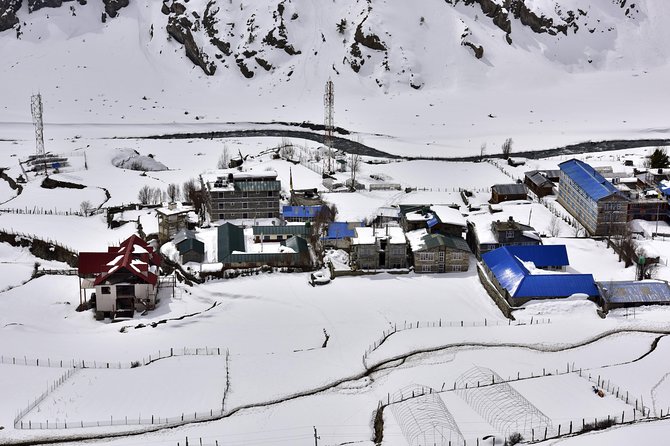
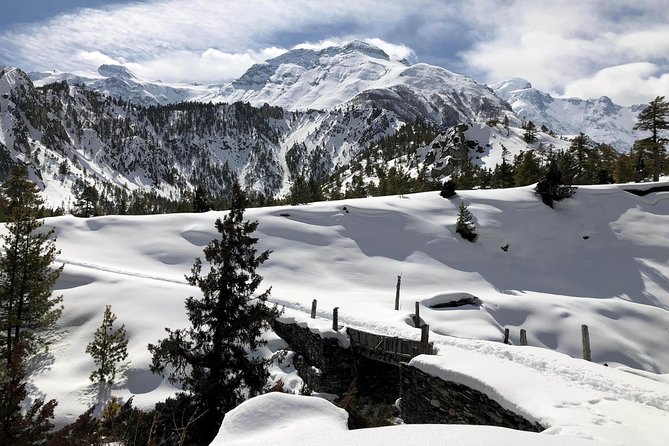
Yak Kharka and the Lead-Up to Thorang La
After Manang, the route heads toward Yak Kharka, a high-altitude settlement reached via an up-and-forward climb with stream crossings and mountain-facing scenery. This is the “keep building altitude readiness” day. It’s long on purpose, but not reckless.
Then comes the lead-up toward Thorang Phedi and Thorang La. You’ll cross bridges, follow the Jarjung River along the way, and climb toward Thorung Phedi for a short rest before the final push.
This segment is where your pacing becomes your best friend. If you go out too fast, your lungs will remind you. If you keep a steady effort, you’ll arrive with enough energy to appreciate what you came for instead of just surviving the climb.
And yes, plan for sun. Even in the mountains, the light can be intense. One simple trek habit that gets repeated for a reason: bring sunscreen.
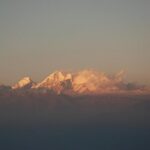
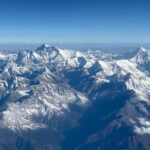
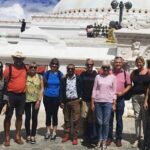
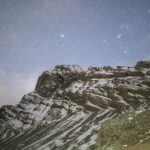
Thorang La (5,416m) and Muktinath Temple: The Hard Part Meets the Sacred
Day nine is the big one: an early start to climb to Thorang La at 5,416 meters, marked with Buddhist prayer flags. Reaching the highest point is the moment the whole trek finally snaps into focus—views, weather, prayer-flag lines against the sky, and that feeling of crossing something real.
After the pass, you descend toward Muktinath Temple. Muktinath is special because it’s both a spiritual landmark and a cultural stop along the route. The combination makes this more than a physical achievement. You finish the highest day with a place that feels meaningful, not just scenic.
Two practical tips for this day:
- Start slowly. Early altitude stress is real.
- Dress for temperature swings. High passes can go from cold to colder fast, depending on wind and cloud.
If you’re wondering why the route doesn’t “just jeep it” to Manang to save more time, here’s the honest reason: you can’t cheat your body at altitude. The plan specifically avoids pushing you higher too quickly, and it treats shortcuts carefully.
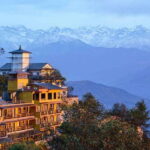
Pokhara and the Drive Back to Kathmandu: Recovery With Views
Once you reach the end of the main walking section, you drive to Pokhara. The drive is described as challenging but scenic, with time to check out views once you arrive. Then you return overland to Kathmandu the next day, en route passing farm villages and towns before arriving by afternoon.
This matters because you get a real decompression period. Instead of spending your last days hiking, you’re recovering while moving through Nepal’s lower elevations and everyday life.
It’s also a good emotional rhythm shift. After high altitude days, even a scenic drive feels like a break. Your legs may complain anyway, but at least your lungs aren’t.
Price and Value: What $975 Covers (and What You’ll Still Pay)
At $975 per person, this trek isn’t the cheapest option. It also isn’t overpriced, especially if you compare it to what’s included.
Here’s what you’re getting value for:
- Hotels in Kathmandu and Pokhara (two nights in Kathmandu with breakfast; one night in Pokhara with breakfast)
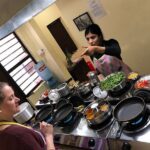
- Meals on trek: breakfast included as listed, plus three trek meals per day (breakfast/lunch/dinner)
- Tea-house lodging on a twin-sharing basis
- Guide and required permits, including the Annapurna Conservation Area permit
- Trekking gear: sleeping bag, down jacket, and a duffle bag (big cost saver if you don’t already own gear)
- Seasonal fruits and three cups of tea per day during the trek
What you should budget for:
- Travel insurance (not included)
- Personal extras like mineral water, beer, Coke, laundry, and desserts
- Tips for trekking crews
Bottom line: the best way to think about the price is as a package deal on logistics, guide support, permits, and core trek comfort. You’re paying for fewer headaches, not just for scenery.
Who Should Book This Annapurna Circuit Trek (and Who Should Reconsider)
This experience is for people with moderate physical fitness who want a classic circuit without turning it into an all-day grind every single day. If you like the idea of trekking with a structured plan, with acclimatization built in, you’ll probably enjoy this.
It also fits solo travelers who want to do something big without carrying everything alone. The “private tour” setup means it’s only your group, not random strangers you can’t coordinate with. That’s a nice safety net when weather and pace matter.
You should reconsider if:
- You don’t feel comfortable with altitude. Even with careful planning, you still hit 5,416m.
- You want a short, casual hike. This is still a real trek.
- You’re hoping for extra speed via jeeps. Getting to Manang by jeep is described as risky, and beyond Chame it’s not appropriate.
Should You Book This Annapurna Circuit Trek?
Yes, if you want the Annapurna Circuit experience but you prefer a route that’s paced and supported. I like that this plan has a Manang rest day, includes the pass crossing, and still gets you to Pokhara and back without dragging out your time in transit.
Book if you also appreciate real value: guide service, tea-house lodging, trek meals, and key gear are covered. That’s how you keep the trip from turning into a last-minute spending spree.
Don’t book if your goal is purely comfort or if altitude makes you nervous in a way that planning can’t fix. This trek is designed to reduce risk, not erase it. If you’re unsure, talk with your doctor about altitude planning and be honest about your fitness.
If you’re ready for a serious mountain challenge with good support, this is a strong way to do the circuit without losing your whole vacation to logistics.
FAQ
Where is the meeting point?
The start point is Tribhuvan International Airport (Ring Rd, काठमाडौँ 44600, Nepal).
Is airport pickup and drop-off included?
Yes. Airport pick up and drop off are included as part of the ground transportation.
How long is the trek and trip?
The trip runs about 12 days.
Does the price include a guide and permits?
Yes. It includes a government license holder guide and the Annapurna Conservation Area Conservation Permit.
What meals are included during the trek?
Meals during the trek include three times per day (break, lunch, dinner). The package also includes breakfast (listed as 11).
What trekking gear do I get?
The package includes trekking gear: a sleeping bag, a down jacket, and a duffle bag.
What is the highest point on the trek?
The highest point is Thorang La Pass at 5,416 m.
Can I take a jeep farther to shorten the trek?
A jeep beyond Chame is not appropriate. It is possible to use a four-wheel jeep to reach Manang, but the risk of altitude sickness is described as very high.
Is travel insurance included?
No. Travel insurance is not included.
What if weather is bad?
This experience requires good weather. If it’s canceled due to poor weather, you’ll be offered a different date or a full refund.
If you want, tell me your fitness level and travel month, and I’ll suggest how to approach acclimatization days (and what to pack) for this specific route.