REVIEW · EVEREST BASE CAMP TREKS
Everest Base Camp Trek
Book on Viator →Operated by Nepal High Trek & Expedition Pvt. Ltd · Bookable on Viator
Everest Base Camp starts with a short flight. What I like most is the slow-build acclimatization (with extra time in Namche and Dingboche) and the way the route layers famous viewpoints with real Sherpa villages. The only real drawback is the obvious one: you’ll work hard at altitude, and you should plan for cold mornings and stiff legs.
This trip is interesting because it’s not just “hike to a place.” You get meals, permits, and trek sleep gear handled for you, plus a guide team that’s set up for the day-to-day reality of the Everest region. In the stories I’ve seen about the guides leading this route, names like Buddhi and Pawan show up with a consistent theme: keep people moving, keep them calm, and give practical help when the trail gets rough.
One more consideration: weather matters on the Everest side. If skies don’t cooperate, flights and timing can shift, and that can mean scrambling for backup plans even with a well-run operator.
In This Review
- Key things I’d circle before you book
- Getting from Kathmandu to the Everest trail (and why it matters)
- Lukla to Phakding, then up to Namche: first altitude lessons
- Namche to Tengboche Gompa: monastery mornings and big mountain views
- Dingboche acclimatization: stupa day, Chhukung hike, and smarter rest
- Khumbu Glacier to Everest Base Camp: the hard day that feels worth it
- Kalapatthar at sunrise-ish light: why this is the day people talk about
- Pheriche to Pangboche: monastery time with a different kind of altitude
- Returning to Lukla, then Kathmandu: the long exhale
- Price and value: what $1,799.27 actually buys you
- Daily rhythm, food, and the gear that keeps you moving
- Safety, fitness, and weather reality on Everest routes
- Who this trek suits best (and who should think twice)
- Should you book this Everest Base Camp plan?
- FAQ
- How long is the Everest Base Camp trek?
- Are the Kathmandu to Lukla flights included?
- What gear is included for the trek?
- What meals are included during the trek?
- Do I need travel and rescue insurance?
- Is a porter included, and is tipping included?
- What happens if weather affects the trek?
Key things I’d circle before you book
- Kathmandu to Lukla flights included: you skip the long road trek and get right onto the high-country plan
- Trek sleeping bag, down jacket, and duffel bag provided: less gear hassle, fewer bulky purchases
- Acclimatization built into the route: Namche and Dingboche include extra time so your body has a chance
- Kalapatthar is part of the core day: early start for dramatic sun-and-snow light
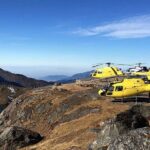
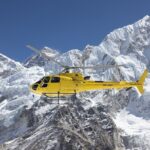
- Emergency helicopter arranged through your insurance: that’s a serious safety net on Everest routes
- Private group setup: it’s only your group participating, with pickup included
Getting from Kathmandu to the Everest trail (and why it matters)
You start in Kathmandu, and the first win is how much the operation handles for you. After you land at TIA, you’re met by a representative from Nepal High Trek & Expedition—Anjan is mentioned—and you’re transferred to your Kathmandu hotel. Dinner follows, so you’re not stranded hungry and confused on day one.
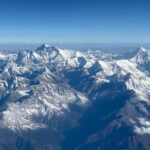
Then comes the big transition: Kathmandu to Lukla by flight. You fly from the Kathmandu domestic terminal after breakfast. This matters more than people think. Lukla is the standard launch point for Everest-area trekking, but the flight is what makes this route doable in 14 days. Without those flights, you’d need extra days for the approach, and most people who sign up for this want that time back.
Practical tip: treat day two as a gear-and-breathing day, not a sightseeing day. You’ve got altitude coming fast, and you’ll feel it in your breathing even if you’re fit.
You can also read our reviews of more hiking tours in Kathmandu

Lukla to Phakding, then up to Namche: first altitude lessons
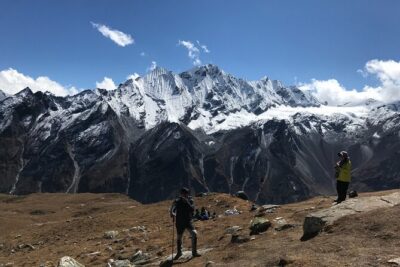
Your early days are about learning the Everest-region rhythm: walk, rest, look, repeat. From Lukla you head into the Khumbu area and spend time moving toward the Namche bazaar zone. One of the first “wow” moments is the suspension-bridge crossing over the Dudh Koshi River, which also gives you a classic view toward nearby peaks like Mt. Thamserku.
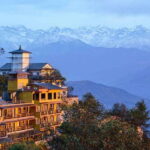
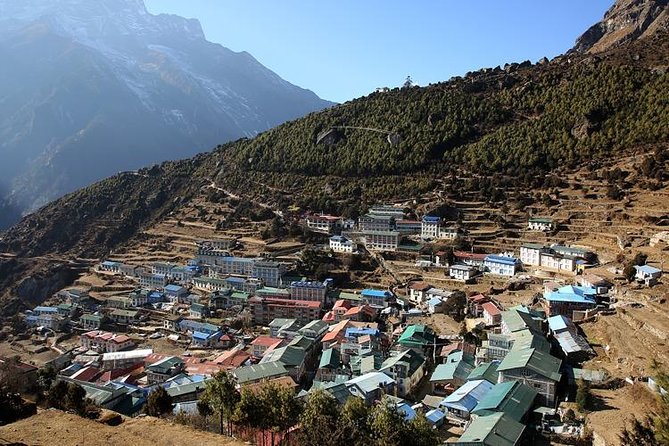
When you reach Namche, it’s not just another town stop. Namche is where trekking becomes real life: bakeries, ATMs, internet cafés, and all the small comforts that make high-altitude travel feel manageable. The plan even includes a day to explore Namche thoroughly, so you’re not stuck doing only trail time.
And yes, there’s time for an Irish Pub stop in Namche. Don’t overthink it. It’s a practical pause with a familiar landmark in a place where you may want something that feels normal.
Possible drawback here: Namche can feel like a lot at first—altitude, crowds, noise. But that’s also why the itinerary gives you a full day around town and not just a quick pass-through.
Namche to Tengboche Gompa: monastery mornings and big mountain views
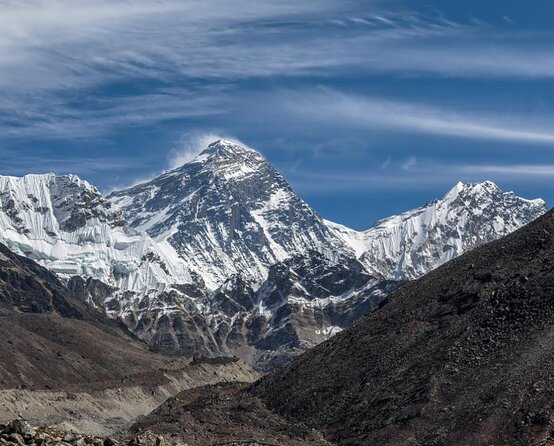
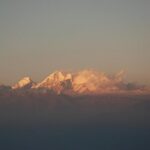
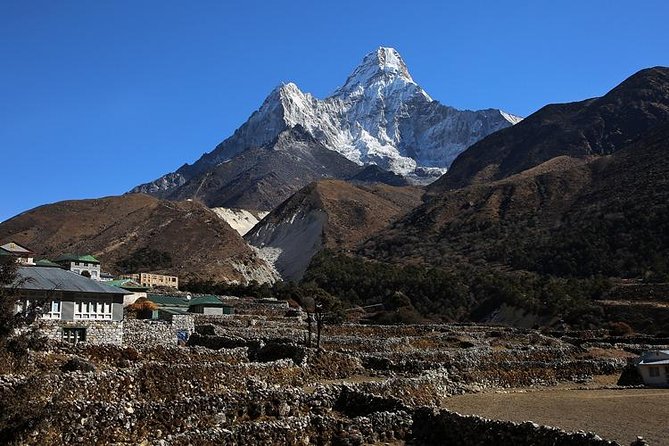
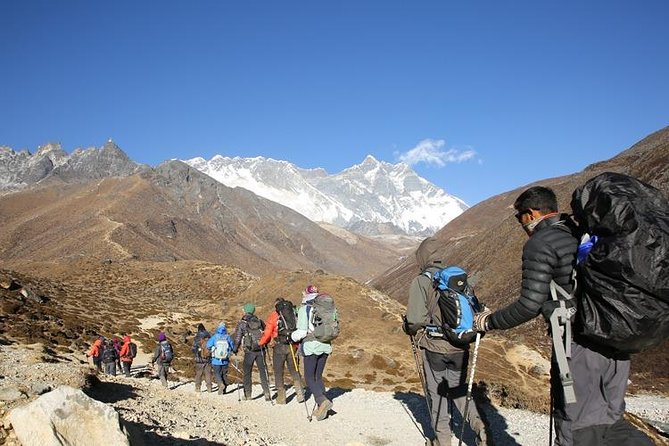
After settling into the Namche altitude zone, you move toward Tengboche. The morning start is often cold, but that cold is also what sharpens the views. On your way, you’re treated to the kind of panorama people imagine when they think Everest: Everest itself and surrounding massifs like Nuptse, Lhotse, and Ama Dablam.
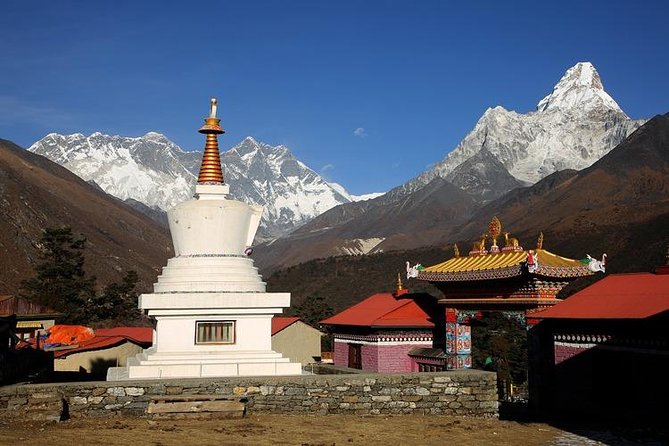
Tengboche Gompa is the cultural anchor of this segment. Monasteries are more than photo stops. They’re part of how the communities here live with the mountains—ritual, routine, and a slower tempo than the trail behind you. You also get a chance for a short visit and photos on the way, which is great because you’ll want memories from this section that aren’t just breathless screenshots.
Practical tip: if your fingers feel numb, stop trying to “push through” with your phone. Put it away, do the photo when you can, then keep walking. A slow, steady pace protects your energy.
Dingboche acclimatization: stupa day, Chhukung hike, and smarter rest
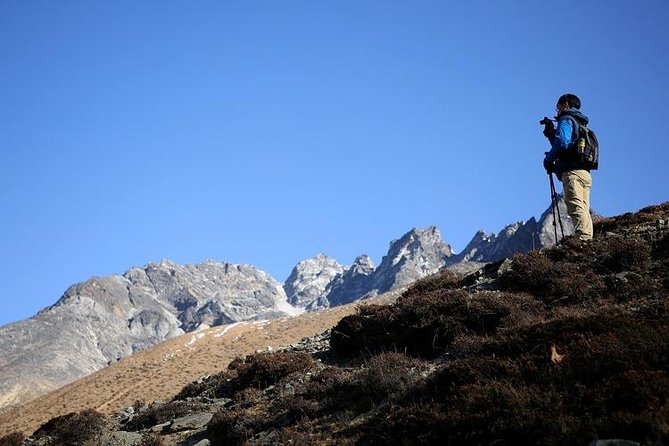
Dingboche is where the itinerary gets intentionally human. You don’t rush. You gain elevation, then you build in time to adjust.
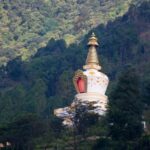
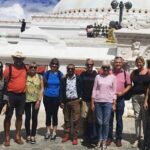
You start with a stop at the Dingboche viewpoint area, which gives you a strong backdrop of the surrounding mountains. Then the plan includes acclimatization time at Dingboche itself, including a visit to the Dingboche stupa. It’s a good “pause point” before you go higher again.
Then you get a short hike toward Chhukung through the Imja Khola valley. This is a classic acclimatization structure: walk a little farther, get altitude exposure, and return before you overdo it. The goal is to help your body adapt while still keeping the hiking manageable.
One thing I like about this design is that it reduces the chance you’ll feel behind later. Everest Base Camp is demanding enough without turning acclimatization days into exhaustion days.
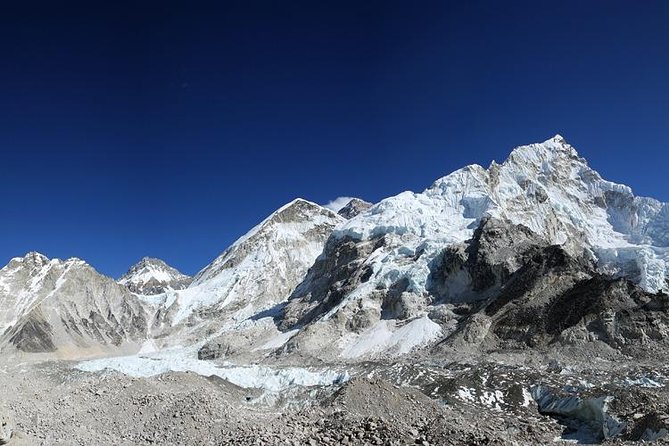
Khumbu Glacier to Everest Base Camp: the hard day that feels worth it
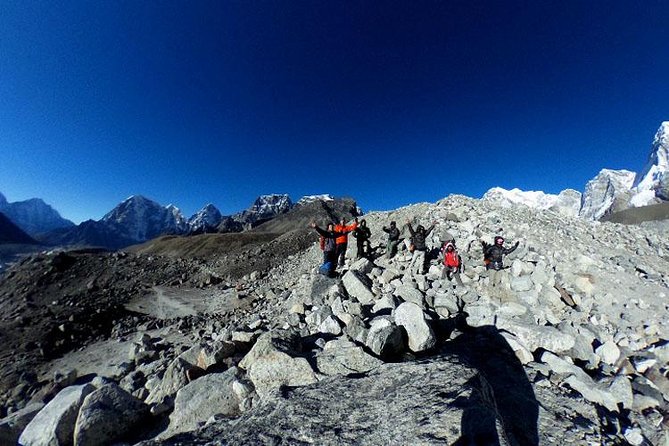
This is where the route leans into the real Everest story. You continue walking along the lateral moraine of the Khumbu Glacier, passing memorial stones for climbers who perished during expeditions. It’s sobering, and you’ll feel it more than you might expect—because the landscape here isn’t abstract. It’s a trail where people have gone, and people have not returned.
As you progress, you climb toward the next high point before heading into the base-camp approach.
The next push includes Gorak Shep and the path that leads to Everest Base Camp. The trek includes time at Everest Camp II (listed in the schedule) and the base-camp area. You’ll go from “high enough to be tired” to “high enough to see why people chase this” in one stretch.
Practical tip: treat your base-camp time like a cooldown, not a sprint. You’ll likely want photos, but you’ll also want to regulate your breathing and drink water. This is where people blow it by trying to do everything fast while their bodies are stressed.

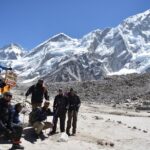
Kalapatthar at sunrise-ish light: why this is the day people talk about
Today is the gist day of the journey. You trek earlier to Kalapatthar. The idea is simple: you climb for a view where the light hits snow and clouds in a dramatic way.
The itinerary calls out the moment of sun piercing clouds and reflecting on white snow. Translation: the payoff tends to be worth the early start, even when you’re tempted to grumble.
You return from Kalapatthar after the ascent. Then Gorak Shep becomes your “settle down” stop before the next segment. If you’ve done acclimatization right, you’ll feel more capable here. If you didn’t, you’ll still get the view—but the climb may feel like a tax.
Practical tip: put sunscreen on even if it’s cold. People can get burned fast at altitude. If you take one lesson from the kind of guidance this operator is known for, it’s this—use sunscreen daily and keep moving one step at a time.
Pheriche to Pangboche: monastery time with a different kind of altitude
From Pheriche, you take a slightly different route down to Orsho and continue toward Pangboche. This part of the trek gives you a change of pace: some descent, some re-routing, and a chance to see how the region shifts from one valley to the next.
Pangboche is a highlight because of the monastery visit. The schedule notes it as the oldest monastery in the area and mentions a story connected to the scalp and bones of the Abominable snowman (the Yeti). You may find it odd or fascinating depending on your sense of humor, but either way it’s a window into local storytelling traditions.
This day also helps you emotionally. Base camp can feel like a peak moment. Then you’re still high and still moving, but Pangboche and the monastery change the vibe from “climb, climb, climb” to “walk, reflect, and learn.”
Returning to Lukla, then Kathmandu: the long exhale
After Pangboche, you work back toward Namche and then return to Lukla. The schedule notes you’ll reach Lukla earlier on this day, which is a gift. Instead of rushing straight to the next step, you get leisure time to explore the Lukla valley area and settle in.
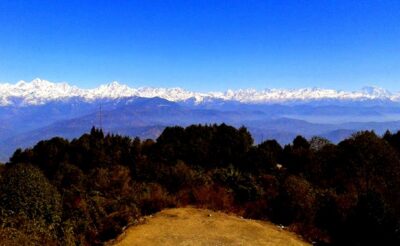
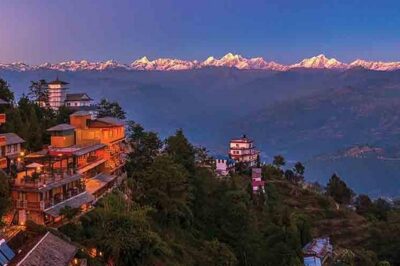
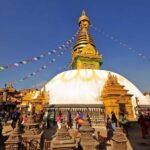
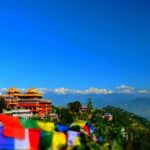
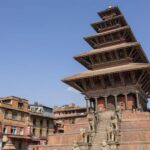
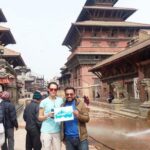
Then it’s the flight back to Kathmandu within a few hours. Kathmandu Durbar Square is on the plan, and the focus shifts back to culture and city texture. You also get a panoramic view opportunity around the Kathmandu valley area, which is a nice way to reset your eyes after days of white peaks.
On day 14, you pack and head to TIA with a buffer of 3 hours before your flight. You’ll also attend a small farewell program organized by the team. It’s a small thing, but it helps close the loop on a trek that can otherwise feel like a blur of trail days.
Price and value: what $1,799.27 actually buys you
At $1,799.27 per person, the first question is whether you’re paying mainly for the brand name, or whether you’re paying for the heavy-lift parts of Everest travel.
Here’s the value math that matters:
- Flights Kathmandu–Lukla–Kathmandu are included (both ways). That’s not a cheap add-on and it saves serious time.
- Permits and entrance fees are included, including Sagarmatha National Park permit and Khumbu entrance fee, plus Pasang Lhamu rural municipality entrance fee.
- On-trek accommodation is included for 11 nights.
- Meals are included for most days: 12 breakfasts, 12 lunches, 11 dinners, plus three cups of hot tea during the trek.
- Gear is provided: sleeping bag, down jacket, and duffel bag. This can remove the biggest upfront gear costs for many first-timers.
- Guiding and safety support are included: a government license holder mountain guide from Kathmandu, plus a medical kit box.
- Emergency helicopter is arranged via your insurance. The key detail is that your travel insurance company pays, but the itinerary includes the arrangement.
What’s not included (and you should plan for):
- Travel and rescue insurance (required in practice, and specifically called out here).
- Hotel in Kathmandu (you’re transferred, but the tour doesn’t say it’s covered).
- Porter cost and tipping for guide and porter.
- Extras in the mountains like phone calls, laundry, battery recharge, water, hot water, and shower services.
My take: this price looks fair when you consider flights, permits, and essential cold-weather gear. It starts to look expensive only if you already own everything, already planned your own permits, and planned your own Lukla logistics. Most people don’t want to juggle that stuff.
Daily rhythm, food, and the gear that keeps you moving
This is a 14-day program with 11 nights on the trek. That means you’ll be living in the routine: early starts, steady walks, guesthouse-style nights, and the constant work of eating and hydrating.
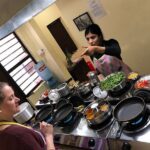
Meals matter here. You get breakfast before mornings, lunches during walking days, and dinners at night. Having those handled reduces decision fatigue. And three cups of hot tea during the trek is a small line item that can feel like a big comfort when you’re cold and waiting for the next push.
Gear support is a big deal. You’re provided a sleeping bag, down jacket, and duffel bag. That means you can pack smarter instead of carrying awkward bulky cold items. You’ll still want your own base layers, hat, gloves, and hiking boots that you trust, but the essentials are covered.
Practical tip: even with a provided down jacket, bring your own thermal layers. Think of it like systems: insulation plus layers beats one magic garment.
Safety, fitness, and weather reality on Everest routes
Altitude is the real boss of this trip. The itinerary includes acclimatization days, including Namche and Dingboche, and that’s your best friend. Still, you need strong physical fitness, and you should treat the trek as a serious walking challenge.
Weather is the other limiter. The trip requires good weather, and if it’s canceled due to poor weather, you’re offered a different date or a full refund. That’s important for planning, because your flight timing can swing with conditions.
For safety, you get a medical kit box and a licensed guide. And in an emergency, helicopter service is arranged with payment through your travel insurance company.
Also, keep in mind that the plan doesn’t cover extra costs from strike, delay, or canceled flights. If you’re booking travel to Nepal around the trek dates, give yourself some flexibility so you’re not stuck paying for changes out of pocket.
Who this trek suits best (and who should think twice)
This is best for:
- You if you’re excited by a guided Everest route with real acclimatization time.
- You if you want the logistics handled: flights, permits, most meals, and trek sleep gear.
- You if you like structured days but still want room to explore places like Namche and Lukla.
It’s less ideal if:
- You hate early starts and steady uphill walking.
- You’re not comfortable working within cold, high-altitude conditions.
- You expect the operator to cover insurance, Kathmandu hotel costs, or porter logistics. Those are on you.
Should you book this Everest Base Camp plan?
If you want a well-organized Everest Base Camp trek with Lukla flights, permits, meals, and provided cold-weather sleep gear handled, this is a strong match. The route design also respects acclimatization, which is what helps your body handle the climb later.
Before you say yes, do two things:
1) Get your fitness in gear and accept that altitude effort is part of the deal.
2) Buy proper travel and rescue insurance, because the helicopter support relies on it.
If you do those two, you’ll be set up to focus on what you came for: those long Himalayan viewpoints, the glacier-side trail moments, and the hard-earned feeling of reaching Everest Base Camp.
FAQ
How long is the Everest Base Camp trek?
The trek is listed as 14 days (approx.).
Are the Kathmandu to Lukla flights included?
Yes. Both way flight tickets are included (Ktm – Lukla – Ktm).
What gear is included for the trek?
The tour provides a sleeping bag, down jacket, and duffel bag.
What meals are included during the trek?
Meals are included on the trek: 12 breakfasts, 12 lunches, and 11 dinners, plus three cups of hot tea during the trek.
Do I need travel and rescue insurance?
Yes. Travel and rescue insurance is not included, but emergency helicopter service is arranged and is paid by your travel insurance company.
Is a porter included, and is tipping included?
Porter cost is not included. Tipping for guide and porter is also not included.
What happens if weather affects the trek?
The experience requires good weather. If it’s canceled due to poor weather, you’ll be offered a different date or a full refund.